Manage Departments
Only people who are registered as Enterprise Users have the right to access the portal. Those users can be organized into departments.
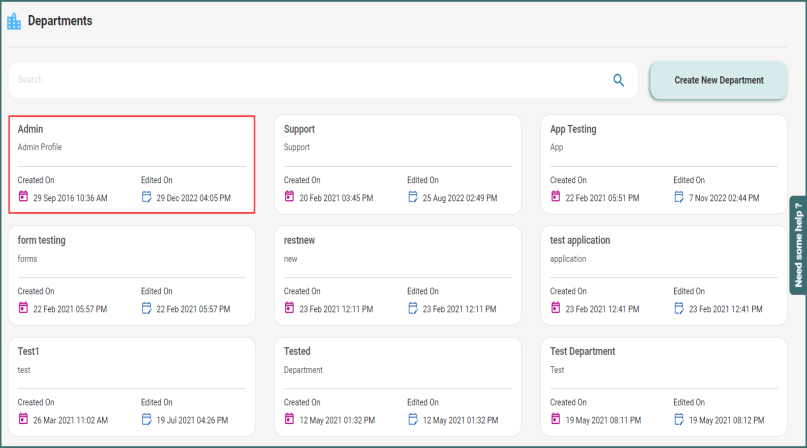
In Departments, you can create a new department and associate the agents to that department before beginning the chat session.
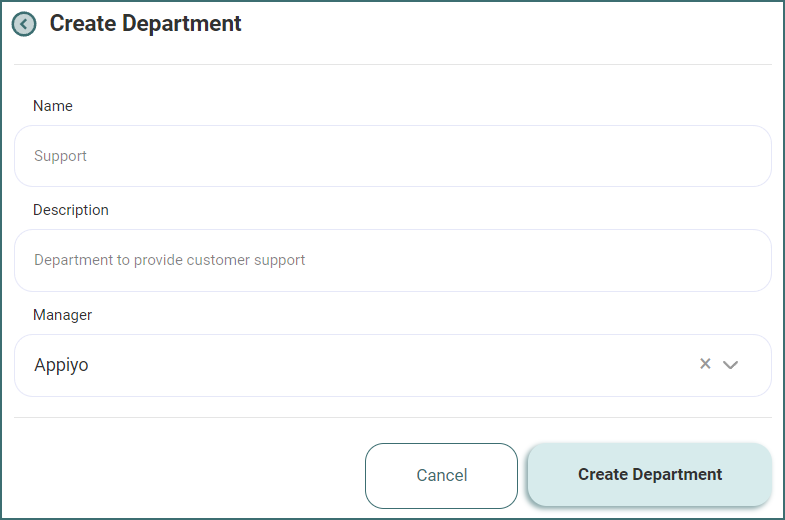
Create a Department
Precede the steps below to create a department
Navigation: Manage -> Departments -> Create New Department
1. Type the department name and description for the department.
2. Select an agent from the list to operate as a Manager of the department.
3. Finally, click Create Department to create the department.
Edit Department Details
To alter the name, description, and manager of the department, click Edit button of the selected department.
To search the department based on their name, key in the department name in Search explorer.
Mapping Agents to the Department
1. To depute/ map the agents to the department, select Map Agents option next to the department name you want to assign.
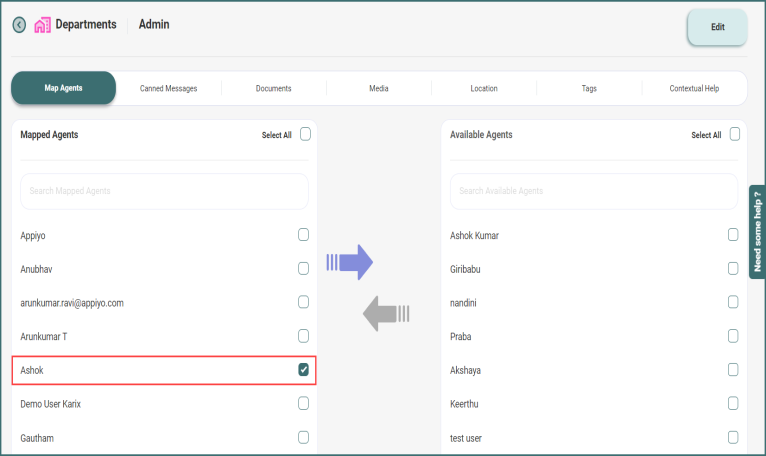
2. Select the agents from Available Agents and map them to the department and click . In the screen-shot shown below, agent Ashok is selected to be mapped.
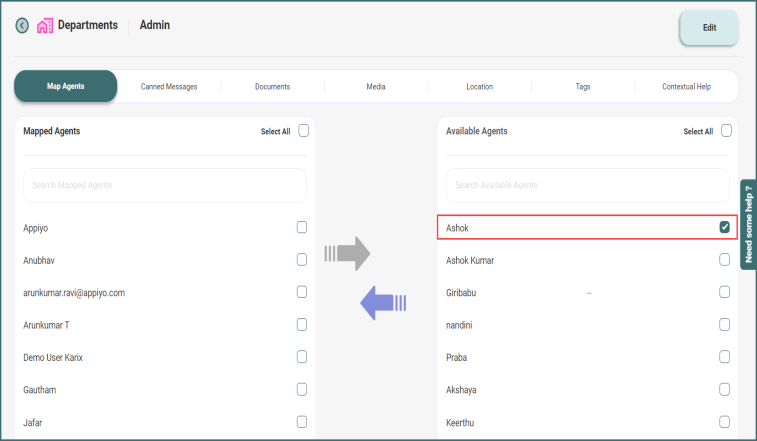
3. Then the agent’s name will be displayed in the Mapped Agents section if the agent is mapped to that particular department.
Adding Artifacts
You can pre-upload the artifacts like Canned Messages, Documents, Media, Locations, Tags and Contextual Help to the concerned department so that the agents belonging to these departments can send the rich media to the customers while chatting with them. These public artifacts can be added at the department level and can be sent by all the agents of the selected department to the customer across PWA and WhatsApp channels.
Add the Canned Message
Pursue these steps to add the canned message:
• Navigate to Manage -> Departments.
• Select the department to which you want to add the artifacts. Let's select the Admin department in this example.
• Click Canned Messages tab to enter the template message that can be used to answer the common queries of the customer with a standard reply.
• Click Add Message button and enter the message template for canned message as shown below.

• Click Add Message to save the template message.
• Once the canned message is saved, it will be added in the list as shown below.

Add the Documents
To add the documents, follow these steps:
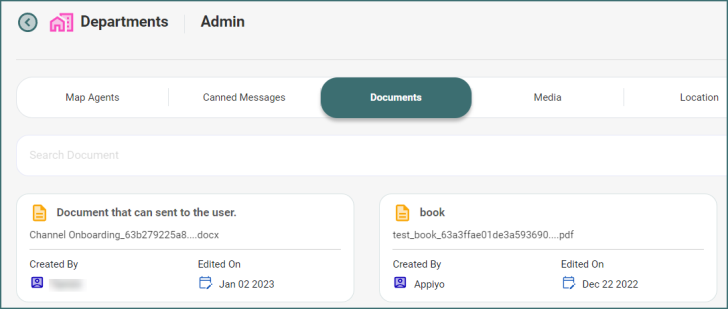
• After selecting the department from Departments page, click Documents tab. In this example, we have selected the admin department.
• Click Upload a file and select the file from the local drive and enter the description for the document.
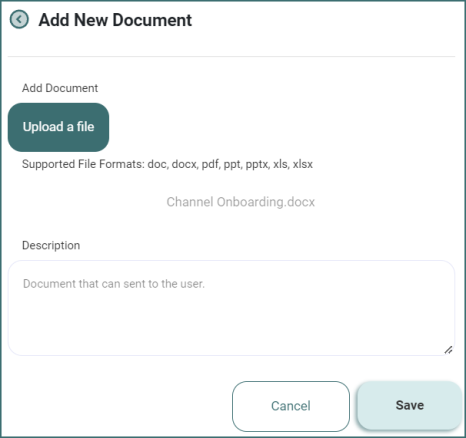
• Click Save to save the document. This document will be displayed under the Documents panel.
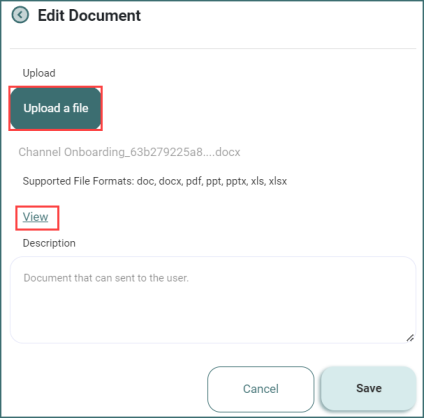
• Click Upload a File to open a new file. Select the file to be replaced from your local computer and click Save.
• Click View to download the uploaded document.
Pre-upload media
• To pre-upload the images and audios, click Add Media and select the media file to be uploaded from the local computer and enter the description for the media.
• Click Save to save the media file.

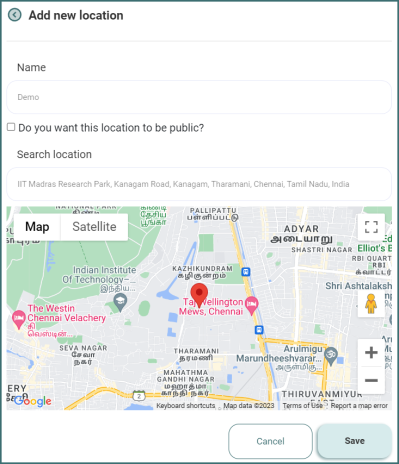
Pre-upload Location
To pre-upload the location,
• Select Location tab in the selected Department page and click Add Location.
• Enter the Location name that will be sent to the users.
• Click "Do you want this message to be public?" if you allow this location to be viewed by other agents.
• Search the exact Location name in the search box.
• Click Save.
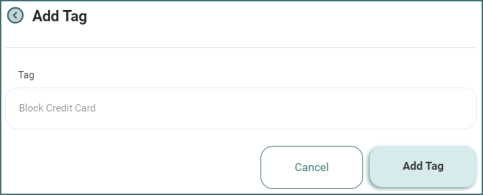
Tags
To pre-upload the tags,
• Select Tags tab in the selected Department page and click Add Tags.
• Enter the Tag name for the customer to view the important details of the customer when they chat with them in future.
• Click Add Tag to add the tag names in the Chat Conversation -> Additional notes -> Tags drop-down box.
The artifacts attached here will be listed under the list of Public and Private Artifacts while attaching the canned messages and media artifacts in the Chat Interface.
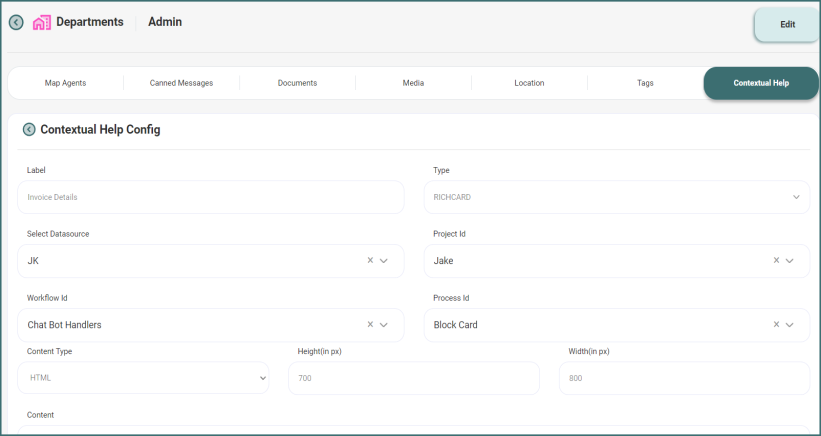
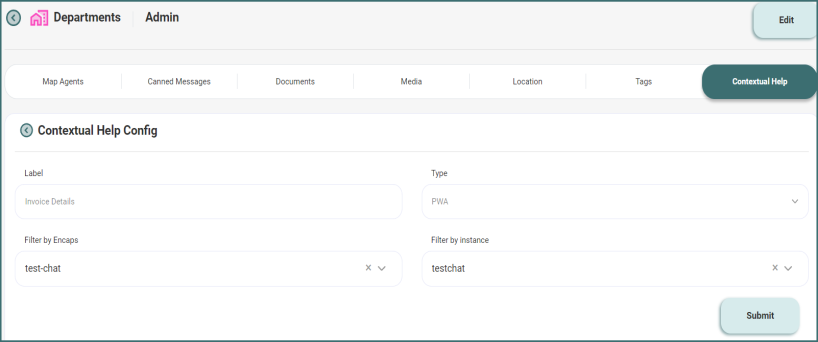
Contextual Help
• Select the department which you want to add contextual help.
• Go to Contextual Help tab and click Create button.
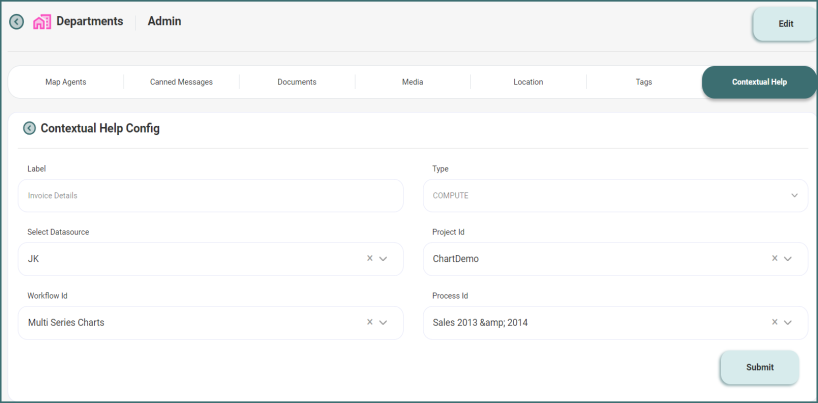
• Enter the label name to be displayed in Chat Conversation page and select the type (compute, pwa, richcard).
• For PWA, choose the EnCap and launch name to load the particular EnCap.
• You can show the customer order details via type Twixor Compute by choosing Datasource, Project Id, Workflow Id and Process Id.
• Select Richcard type to view the static detail of customers. Select Datasource, Project Id, Workflow Id, Process Id and add the HTML content of the richcard.